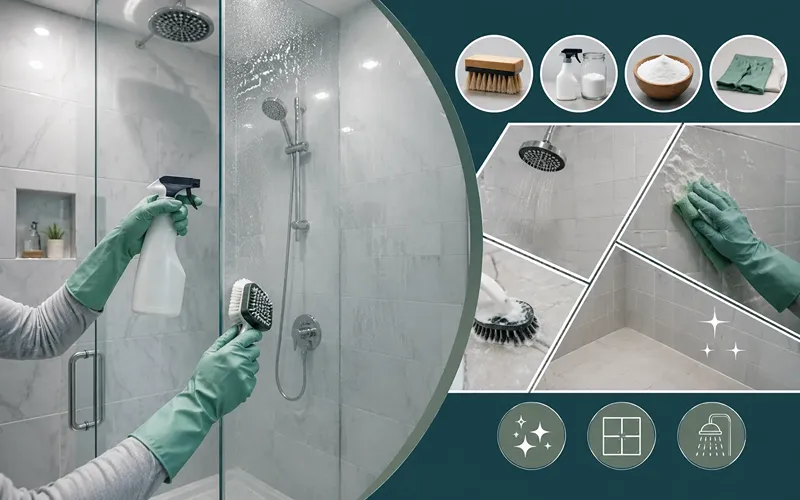
A shower can look spotless from the doorway and still feel grimy underfoot. Cloudy film on the walls, dark grout lines, chalky white spots near the fixtures, it builds up slowly, so most people don’t notice until the shower looks tired all the time. The good news is that learning how to clean shower tiles properly takes less effort than most people expect. It isn’t about scrubbing harder. It’s about using the right product for the mess you’re actually dealing with, giving it time to work, and keeping a few small habits going afterward.
This guide by Shoukat Interior walks through the full process: the tools worth owning, a step-by-step cleaning method, and targeted fixes for soap scum, grout stains, hard water marks, and mildew. It also covers the mistakes that quietly damage tile and grout over time, because a lot of “deep cleaning” advice does more harm than good.
Why Shower Tiles Get Dirty So Quickly?

Understanding the buildup makes it much easier to remove.
Three different things are collecting on your tiles, and they don’t respond to the same cleaner:
- Soap scum: A waxy film created when soap reacts with minerals in water, mixed with body oils and shampoo residue. It’s slightly alkaline and greasy, so it dissolves best with acidic cleaners.
- Hard water deposits (limescale): Chalky calcium and magnesium left behind when water evaporates. Also acid-soluble, but stubborn once it hardens into layers.
- Mold and mildew: Living growth that thrives in warm, damp, poorly ventilated bathrooms. It needs a disinfectant, not just a degreaser.
Grout makes all of this worse. It’s porous, so it absorbs water, soap residue, and cleaning products, then holds onto stains. That’s why tiles can look fine while the lines between them look filthy, and why grout usually needs its own step.
What You’ll Need
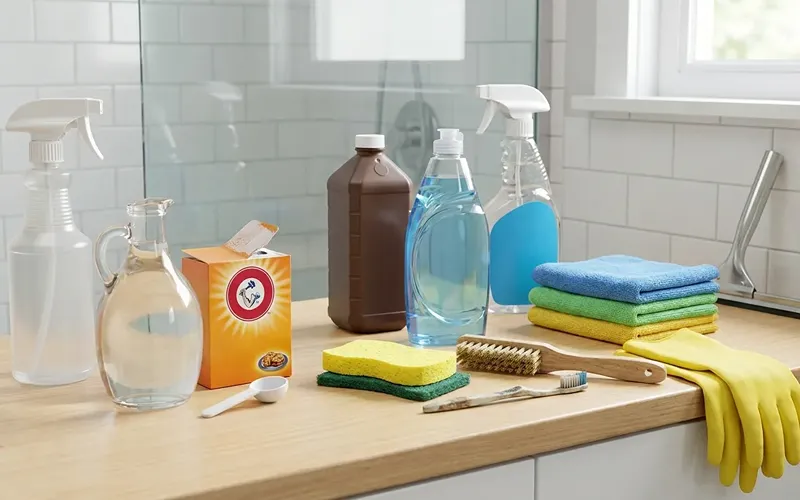
You don’t need a cupboard full of specialty products. A basic kit covers nearly everything:
- Spray bottle
- Distilled white vinegar
- Baking soda
- Hydrogen peroxide (3%)
- Mild dish soap
- A pH-neutral or bathroom-specific shower tile cleaner
- Non-abrasive sponge or soft-bristle brush
- Stiff grout brush (or a stiff old toothbrush for tight corners)
- Two or three microfiber cloths
- Rubber gloves
- Squeegee
A stiff-bristled grout brush is the one item worth buying rather than improvising. Toothbrushes are fine for corners but usually too soft and too small for a full wall of grout lines.
Start by Identifying Your Tile Type
This step matters more than any product choice, because the wrong cleaner can permanently damage certain surfaces.
Ceramic and Porcelain
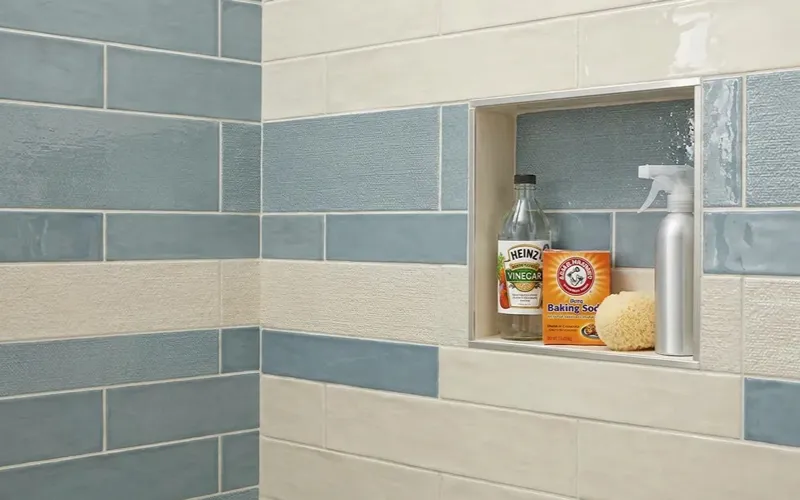
The most common shower tile and the most forgiving. Glazed ceramic and porcelain tolerate vinegar, baking soda, commercial bathroom cleaners, and moderate scrubbing without trouble. Just avoid abrasive powders and scouring pads on glossy glazes, since fine scratches trap grime and dull the finish over time.
Natural Stone
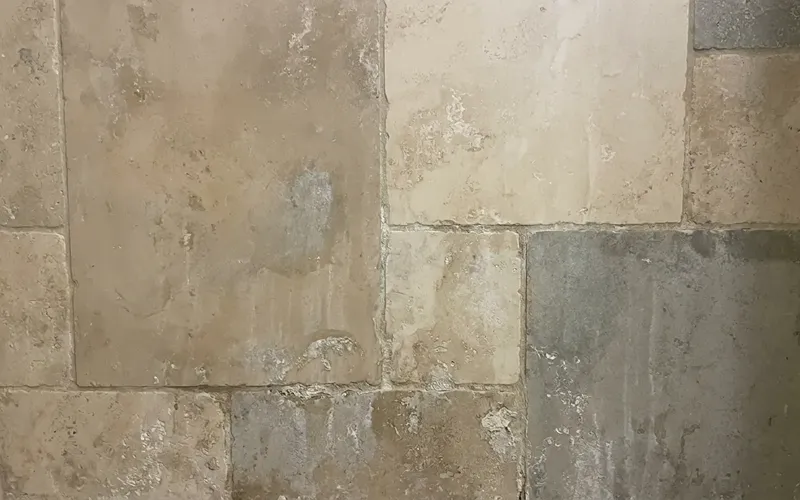
Marble, travertine, limestone, and onyx are calcium-based, which means acid dissolves them. Never use vinegar, lemon juice, or acidic bathroom cleaners on these surfaces, they’ll etch the stone, leaving dull, rough patches that no amount of cleaning will fix. Use a pH-neutral stone cleaner instead. Slate and granite are tougher but still do best with neutral products.
Not sure what you have? Test a drop of vinegar on a hidden spot near the floor or behind a fixture. If it fizzes or leaves a dull mark, treat it as natural stone and stick to neutral cleaners.
Glass and Mosaic Tile
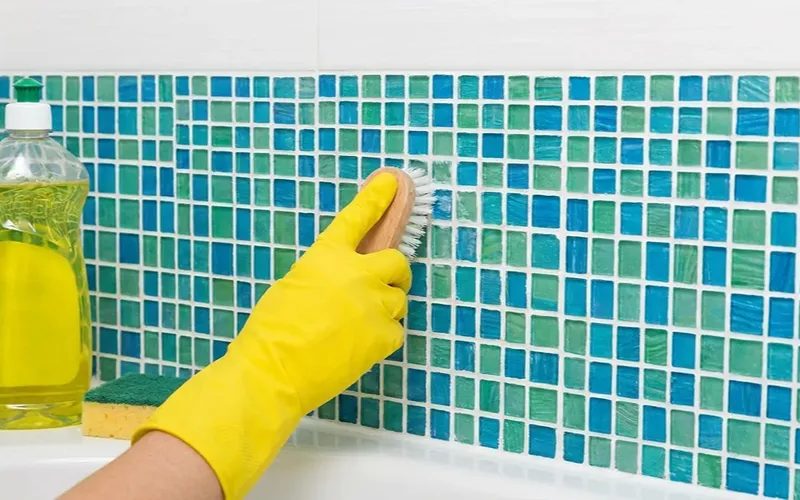
Safe with most liquid cleaners, but the extra grout lines in mosaic work mean more surface area for buildup. Expect to spend more time on grout and less on tile.
How to Clean Shower Tiles: Step-by-Step
This is the core routine for a full clean. Set aside about 45 minutes, most of which is waiting rather than working.
1. Ventilate and clear the space

Open a window, turn on the exhaust fan, and remove bottles, razors, loofahs, and mats. Wipe down the bottles too, they collect their own layer of scum and will transfer it straight back onto clean tile.
2. Steam the walls first
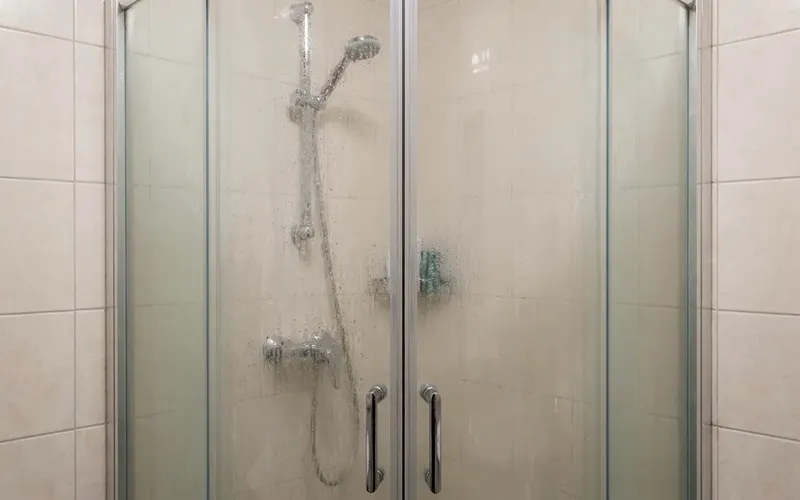
Run the shower on hot for about five minutes with the door or curtain closed, then turn it off. Steam softens soap scum and loosens grime so your cleaner can penetrate instead of sitting on top of a waxy layer. This single step cuts scrubbing time dramatically and costs nothing.
3. Apply your cleaner from the bottom up

Spray the tiles generously, working upward rather than downward. Cleaner applied from the top runs down over dry tile and leaves streak marks that are hard to remove later. Cover the grout lines as thoroughly as the tile faces.
4. Let it dwell
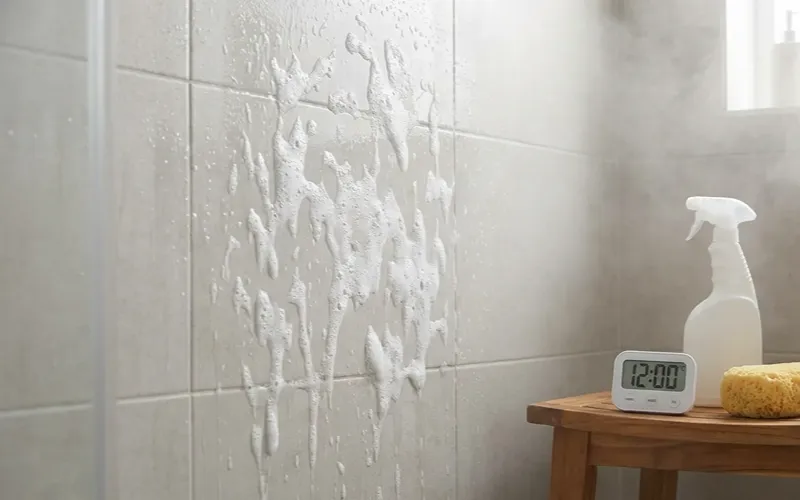
Give the product 10 to 15 minutes. This is where most people go wrong, they spray and immediately start scrubbing, so the cleaner never gets a chance to break anything down. Dwell time replaces elbow grease. If the walls start to dry out, mist them again.
5. Scrub in sections
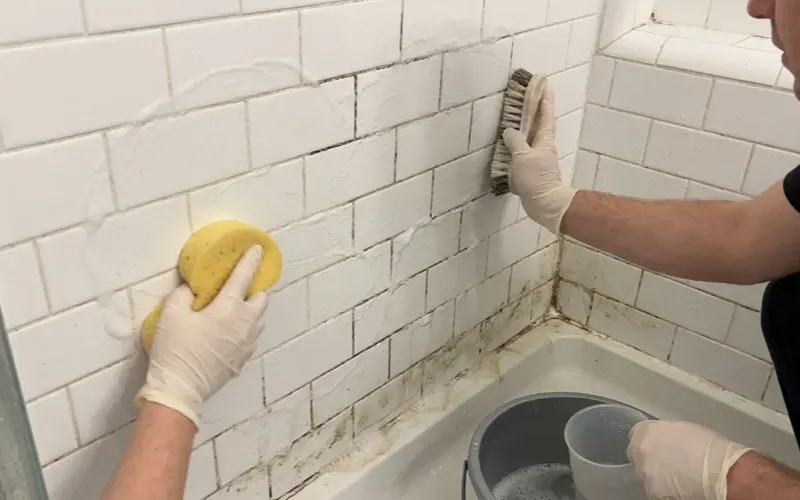
Use a non-abrasive sponge on tile faces and a stiff brush on grout lines, working in small sections in overlapping circular motions. Pay attention to the lower third of the walls and the corners near the floor, where scum and mildew concentrate. Rinse your brush frequently so you’re not dragging dirt around.
6. Rinse thoroughly
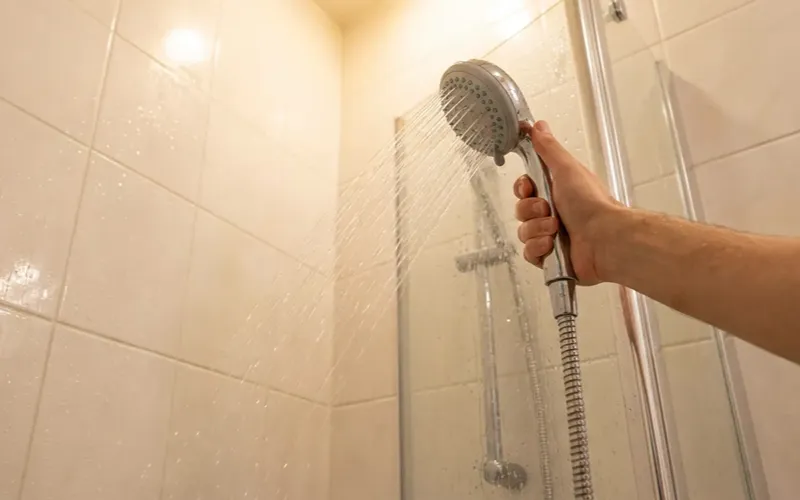
Rinse with clean warm water until no residue remains. Any cleaner left behind becomes a sticky film that attracts dirt faster than before, this is a common reason a shower looks dingy again within a week.
7. Dry the surface
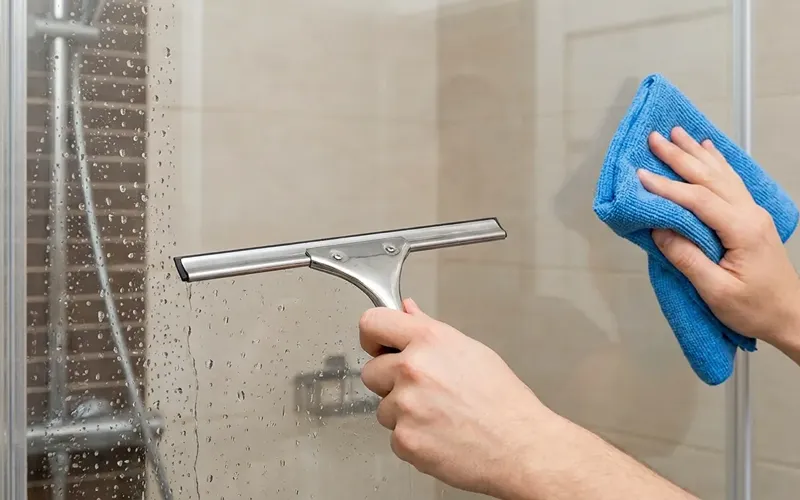
Squeegee the walls, then buff with a dry microfiber cloth. Drying prevents water spots and denies mildew the moisture it needs. It’s the step people skip most often and the one that keeps results looking good the longest.
How to Remove Soap Scum From Shower Tiles
If your walls feel slick or look hazy rather than stained, soap scum is the culprit.
The vinegar and dish soap method

This is the most reliable homemade shower tile cleaner for ceramic and porcelain. Combine two parts warm distilled white vinegar with one part water and a teaspoon of dish soap in a spray bottle. The vinegar dissolves mineral content while the dish soap cuts through body oils, together they handle both halves of the problem.
Warming the vinegar first (about 30 seconds in the microwave) noticeably improves results. Spray, wait 15 to 20 minutes, scrub with a sponge, then rinse well. Heavy buildup may need a second round rather than harder scrubbing.
Baking soda paste for stubborn patches

For thick, crusted areas, mix baking soda with just enough water to make a spreadable paste. Spread it over the affected tiles, let it sit for 15 minutes, then scrub with a damp sponge and rinse. Baking soda is a mild abrasive, so it lifts hardened residue without scratching glazed tile.
Some people spray vinegar over the paste for the fizzing reaction. It looks satisfying but does very little cleaning, the acid and the base largely neutralize each other. Use them in sequence instead: vinegar first to dissolve, baking soda after to scrub away what’s left.
Commercial options
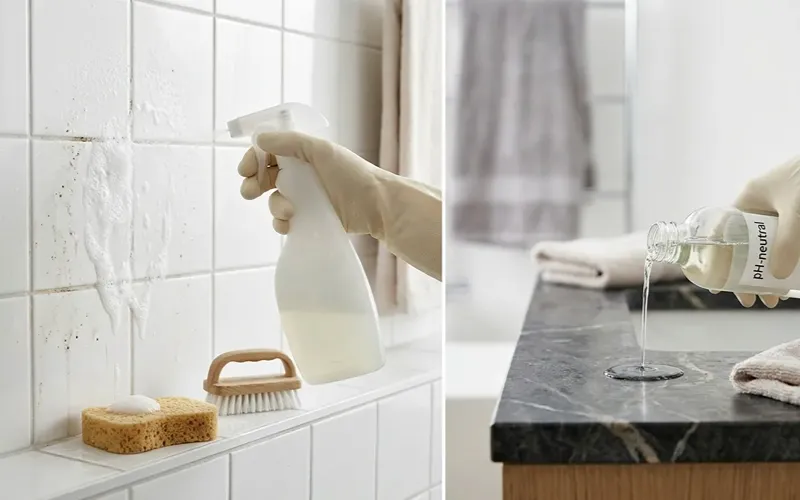
A dedicated bathroom or shower tile cleaner is worth having for heavy buildup or when you’d rather not mix anything. Look for products labeled for soap scum and hard water, check that the label clears your tile type, and follow the stated dwell time. For natural stone, use only a cleaner marked stone-safe or pH-neutral.
How to Clean Shower Tile Grout
Grout is usually the reason a clean shower still looks dirty. Because it’s porous and slightly recessed, it holds stains long after the tile faces are spotless.
Baking soda and hydrogen peroxide paste

This is the most effective home remedy for shower grout cleaning, and it’s gentle enough for regular use. Mix roughly three parts baking soda to one part 3% hydrogen peroxide until you have a thick paste, a small amount of dish soap helps it cling to vertical lines.
Apply it directly along the grout with an old toothbrush or a narrow grout brush. Let it sit for 10 to 15 minutes so the peroxide can lift staining, then scrub each line firmly and rinse completely. Leftover paste dries into a chalky residue that attracts dirt, so rinse more than you think you need to.
Oxygen bleach for deeper stains

For grout that’s grey rather than merely dingy, oxygen bleach powder (sodium percarbonate) dissolved in warm water is a stronger option that won’t damage colored grout the way chlorine bleach can. Apply it, keep the grout wet for 10 to 15 minutes, scrub, and rinse.
Chlorine bleach is a last resort. It whitens the surface temporarily but weakens cement-based grout with repeated use, can discolor colored grout, and doesn’t remove mold from within porous material, it mostly bleaches it pale. If you use it, dilute it, ventilate well, and don’t make it your routine.
Sealing grout afterward
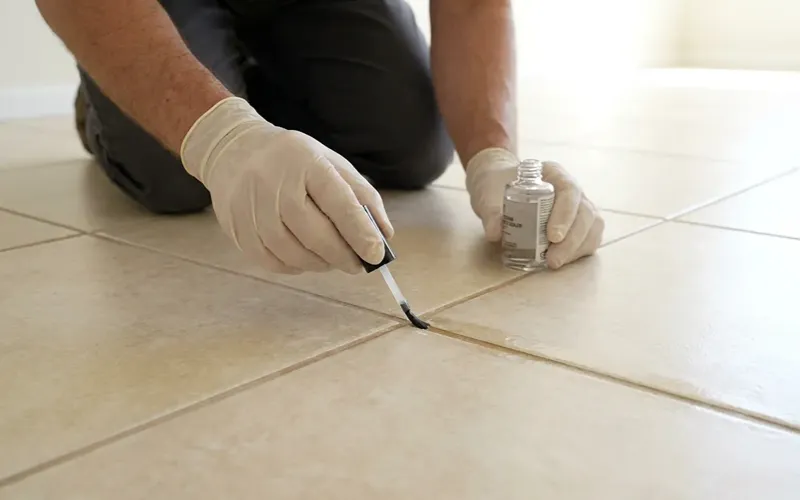
Once cleaned grout is completely dry, give it at least 24 hours, apply a penetrating grout sealer. Sealed grout resists water and staining far better, and it makes every future clean easier. Reseal roughly once a year, or when water stops beading on the lines.
When grout can’t be saved
If repeated cleaning barely changes the color, you’re likely looking at permanent staining, worn grout, or mold growing beneath the surface. At that point, regrouting or applying a grout colorant is the realistic fix. Crumbling or cracked grout should be replaced regardless of appearance, since water getting behind tile causes far more expensive problems.
How to Remove Hard Water Stains From Shower Tiles

Cloudy white patches, particularly near the showerhead and along the lower walls, are limescale. Because it’s a mineral deposit, acid is what removes it.
For light deposits, spray undiluted white vinegar, let it sit for 20 to 30 minutes, then scrub and rinse. For heavier scale, soak a cloth or paper towels in vinegar and press them flat against the tile so the acid stays in contact instead of running off, leave them for an hour, then scrub. A plastic scraper or the edge of a squeegee can help lift thick deposits, but never use a metal blade on tile or glass.
Again, skip vinegar entirely on natural stone and use a stone-safe limescale remover. If your whole house has hard water, a water softener or showerhead filter is the only lasting fix; everything else is maintenance.
Handling Mold and Mildew on Shower Tiles

Black or pink spots in corners and along the grout need a disinfectant, not just a cleaner. Hydrogen peroxide works well: spray it on directly, let it sit for 15 minutes, scrub, and rinse. It’s less harsh than bleach and safe for most grout colors.
One critical safety rule: never mix bleach with vinegar, ammonia, or other cleaners. These combinations produce toxic gases. Rinse thoroughly between products if you switch, and always work with the fan running and the door open.
Persistent mildew that returns within days is a ventilation problem, not a cleaning problem. If your bathroom has no exhaust fan or you don’t use it, that’s the thing to address first.
Common Mistakes That Damage Tile and Grout

- Using acidic cleaners on natural stone. Etching is permanent.
- Scouring pads and abrasive powders on glossy tile. Micro-scratches dull the surface and trap dirt.
- Skipping the dwell time. Scrubbing a cleaner that hasn’t had time to work wastes effort.
- Rinsing with a dirty sponge. Grout absorbs whatever’s in your rinse water, including dirt.
- Relying on chlorine bleach for grout. It erodes cement-based grout over time.
- Pressure washing tile. It forces water behind the surface and blows out grout.
How to Keep Shower Tiles Clean
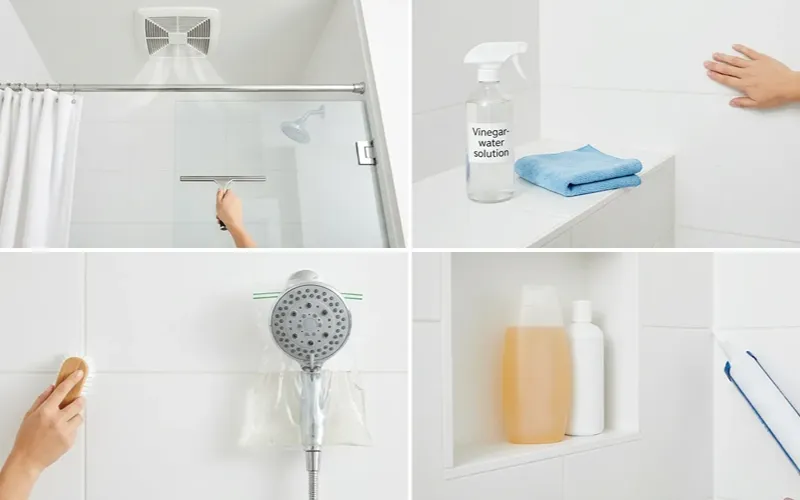
Prevention takes about a minute a day and eliminates most deep cleaning entirely.
After every shower: squeegee the walls and glass, and leave the door or curtain open so air circulates. Run the exhaust fan during your shower and for 20 to 30 minutes afterward.
Weekly: spray a light vinegar-and-water solution or your usual bathroom spray, wipe with a microfiber cloth, and rinse. Five minutes here prevents buildup from ever hardening.
Monthly: give the grout lines a quick scrub, descale the showerhead, and wipe down bottles and shelves.
Once or twice a year: reseal the grout and inspect for cracks or gaps.
A few small swaps help too. Liquid body wash produces far less scum than bar soap, since traditional bar soap is what reacts with minerals to create that waxy film in the first place. And keeping fewer bottles on the shower floor removes the damp hiding spots where mildew starts.
Final Thoughts
The best approach to cleaning shower tiles is patient rather than aggressive. Steam the walls, match the cleaner to the buildup, let it sit long enough to do its job, rinse completely, and dry the surface. Give grout its own attention with a paste and a stiff brush, then seal it so it stays clean longer.
Do that once properly, add a squeegee and an exhaust fan to your daily routine, and you’ll spend far less time on this task from here on, and your shower will look considerably better between cleans.
Frequently Asked Questions
How often should I clean shower tiles?
A quick wipe-down weekly and a thorough clean monthly suits most households. Hard water areas or busy family bathrooms may need the deeper clean every two to three weeks.
Can I use a steam cleaner on shower tiles?
Yes, on ceramic and porcelain, steam loosens grime and sanitizes without chemicals. Avoid it on natural stone and on grout that’s cracked or crumbling, since pressurized steam can worsen existing damage.
What’s the best natural shower tile cleaner?
Distilled white vinegar with dish soap for soap scum and limescale, and baking soda with hydrogen peroxide for grout. Between them they cover nearly every common shower problem on ceramic and porcelain.
Will a magic eraser damage my tile?
Melamine foam is a very fine abrasive. It works well on grout haze and scuff marks, but repeated use can dull polished tile and glass. Use it for spot treatment, not as your main tool.
Why does my shower look dirty again so quickly?
Usually cleaner residue left behind after rinsing, or moisture that never gets a chance to dry. Rinse more thoroughly and squeegee after each shower, that combination fixes it most of the time.